Powering up

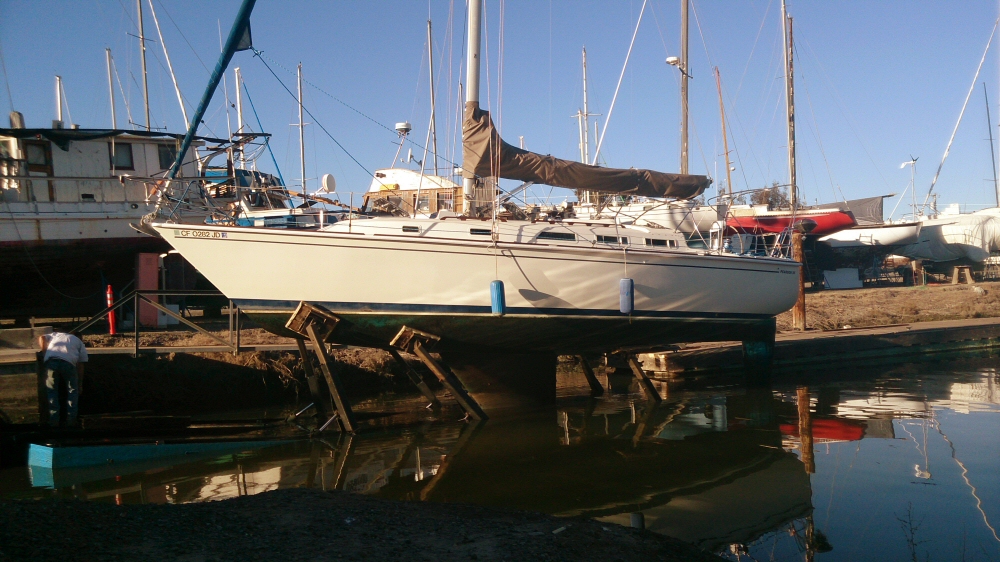
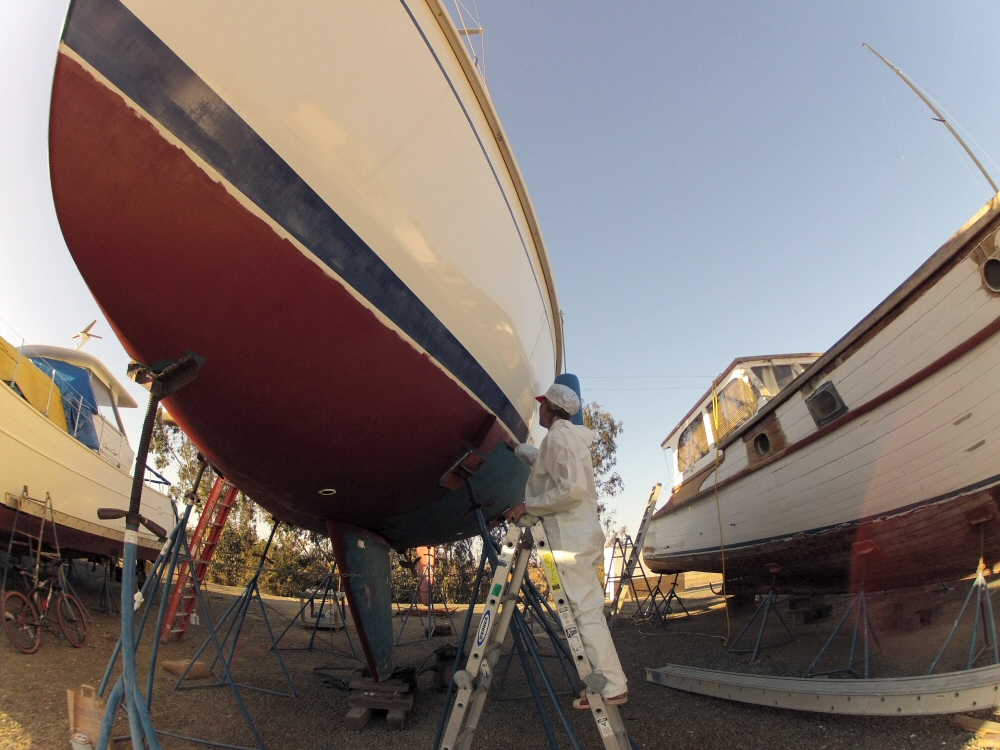
When I bought this boat, it was pretty much exactly as it came out of the factory nearly 30 years ago. Everything had been looked after, a few things had been replaced, but that’s about it. Because it was built as a “coastal cruiser”, designed for day trips and the odd weekend here and there, it came with a pretty basic 12v DC electrical system.

For extended periods away from shore power, the batteries weren’t going to last long. Perhaps 24 hours at most. And then when it came to charging them up again, the poxy 35 Amp alternator with no fancy regulation would have taken perhaps 7 hours to charge them up again. No es bueno. We’re planning to get a long way from shore power, for long periods of time. Over the past few weeks (months?!) I’ve been reading all I can get on 12v boat systems, and have come up with a new systems design; the two main components being a new, powerful alternator with smart regulator and a set of solar panels.

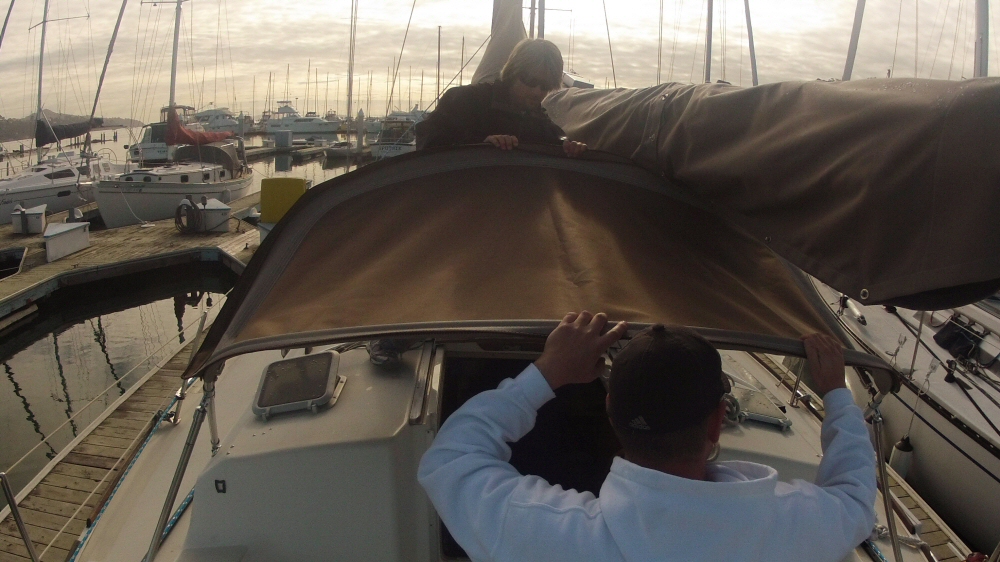
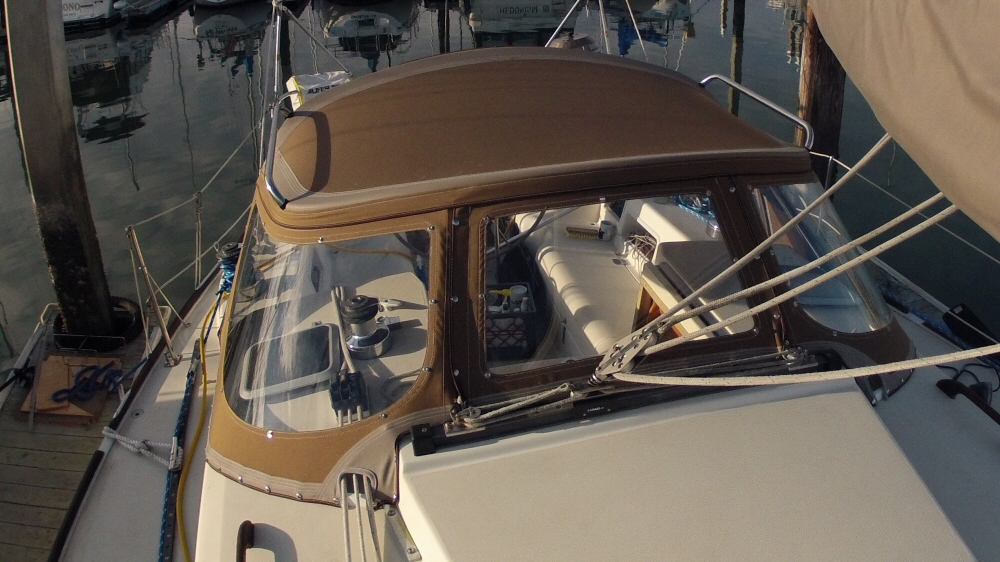
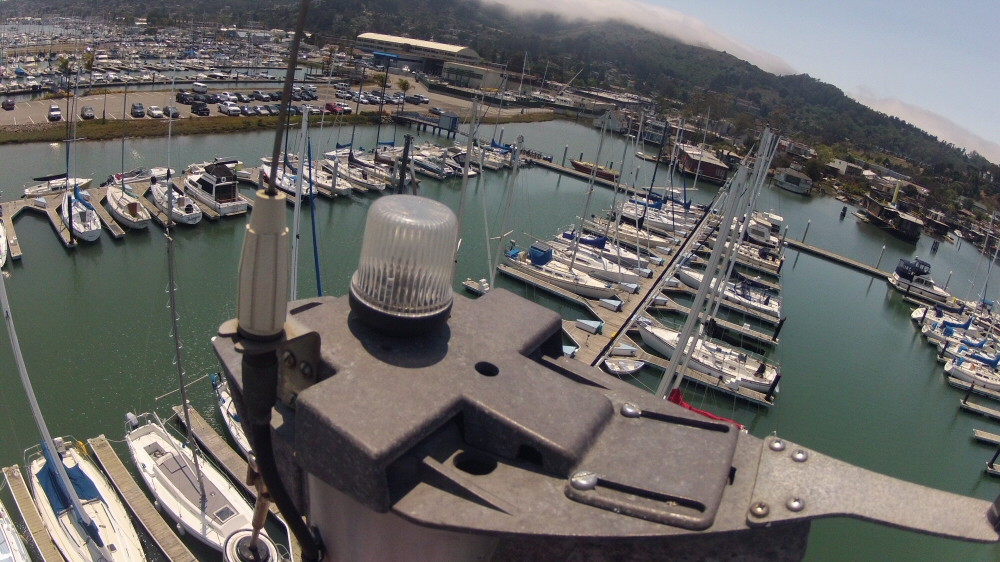
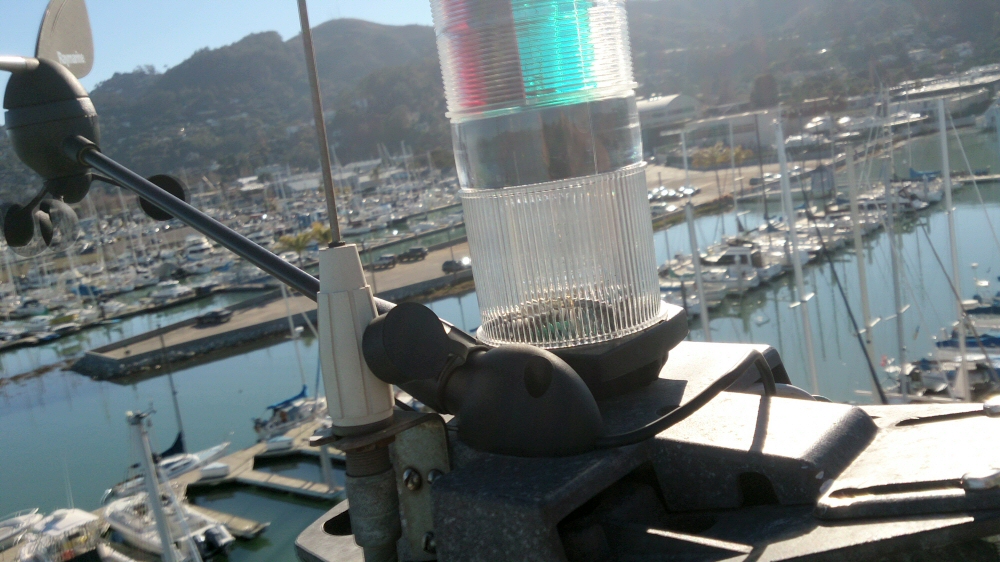
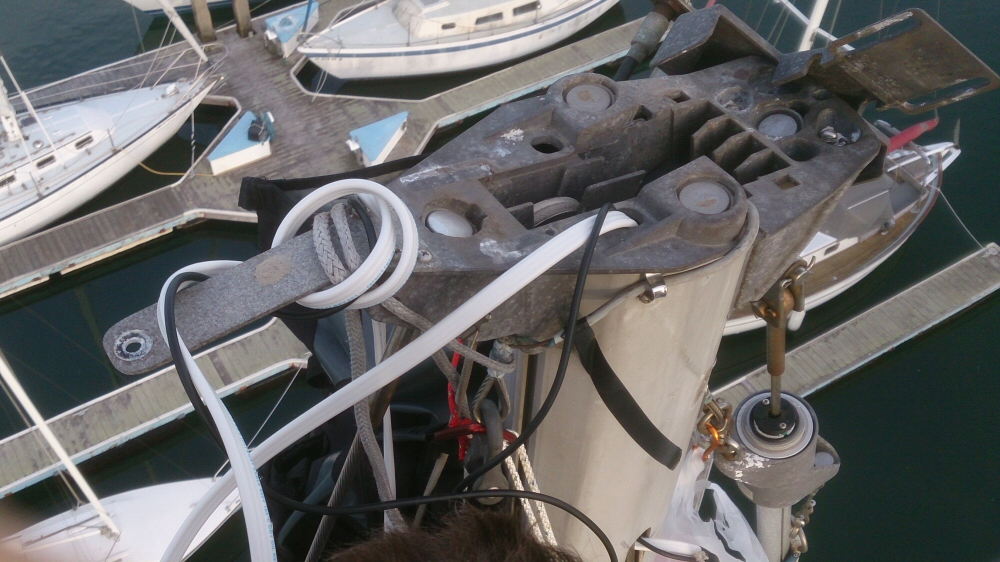
The new 125 Amp alternator will pack way more of a punch than the old one, the smart regulator pumps the charge into the batteries way faster, and then handles things nicely when the batteries get near full. Budget doesn’t yet stretch to solar AND wind power, so out of the two I decided that we’re going to get more benefit from 200 Watts of solar panels than a wind generator. I’ll mount the panels on the cage I’ve fashioned on the stern rail from the old dodger frame, which just happens to be a perfect fit. They’ll also give a load of shade above the helm for those hot, tropical passages and days sat at anchor…

The solar panels are sat by my desk at work waiting for an opportunity for me to swing into the city with the van and pick them up. The other stuff should arrive next week, but I’ve managed to get a few things ready ahead of time. I bought a small car battery to use as the starting battery, which means I can wire the two existing large deep-cycle batteries in parallel and double the useful capacity for everything else – the fridge, lights, autopilot, instruments … so we’ve about 230 Amp-hours there now. From my workings we’ll be using about 100 Ah per day whilst on passage with all the gubbins on and lights at night, so even with the panels giving full power for about 6 sunny hours we’ll still need to run the engine every day to keep the batteries healthy. At anchor when we’re not using navigation lights and autopilot, the solar panels should keep at least the fridge running.

2 house batteries under the rear bunk, and the solar controller ready to install

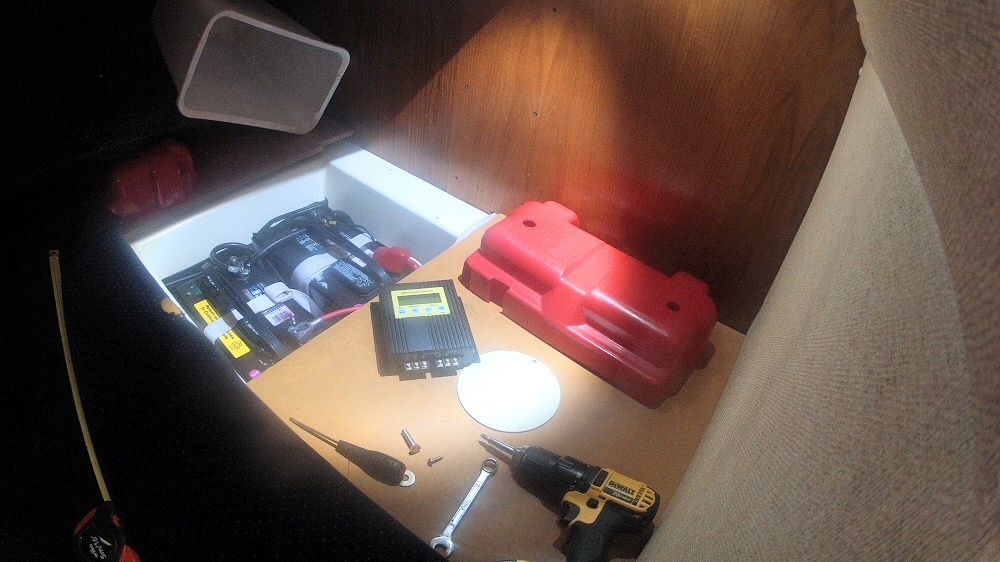
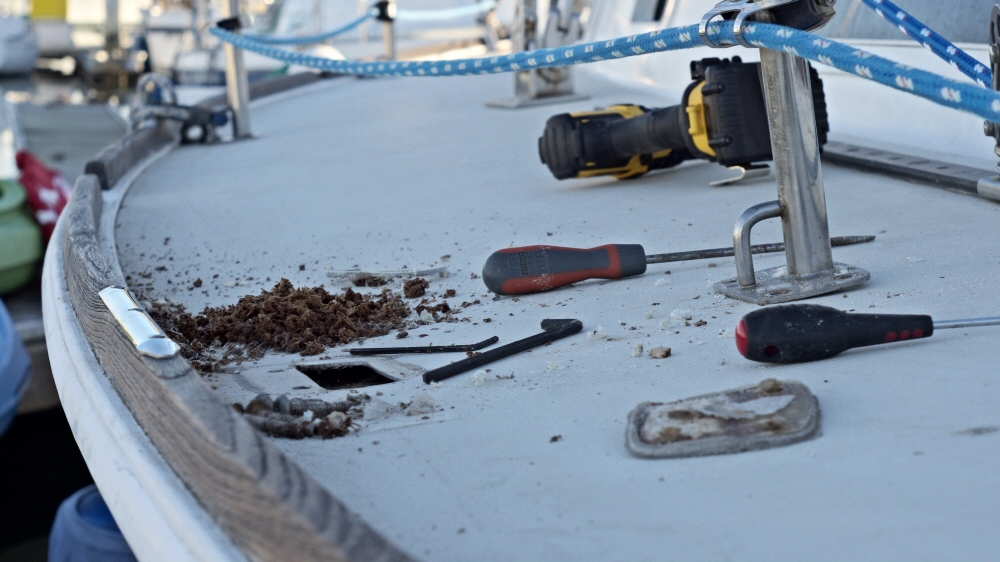
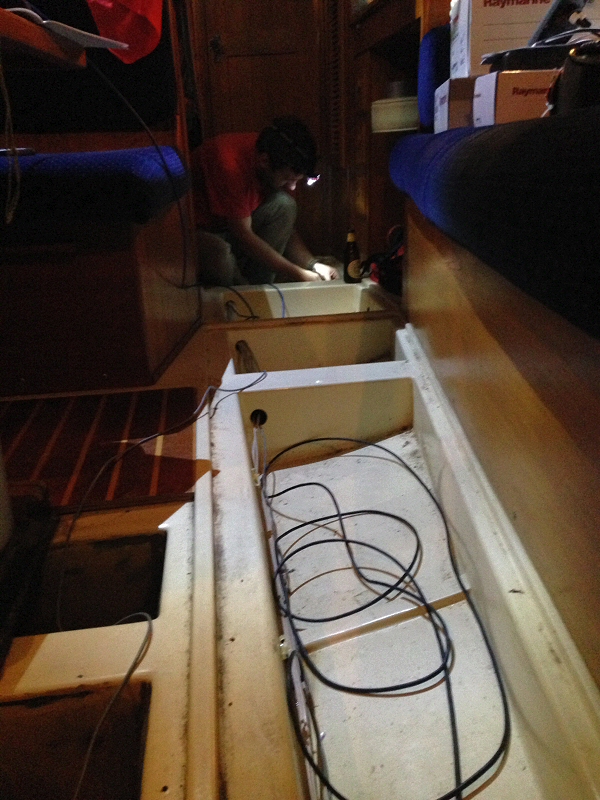
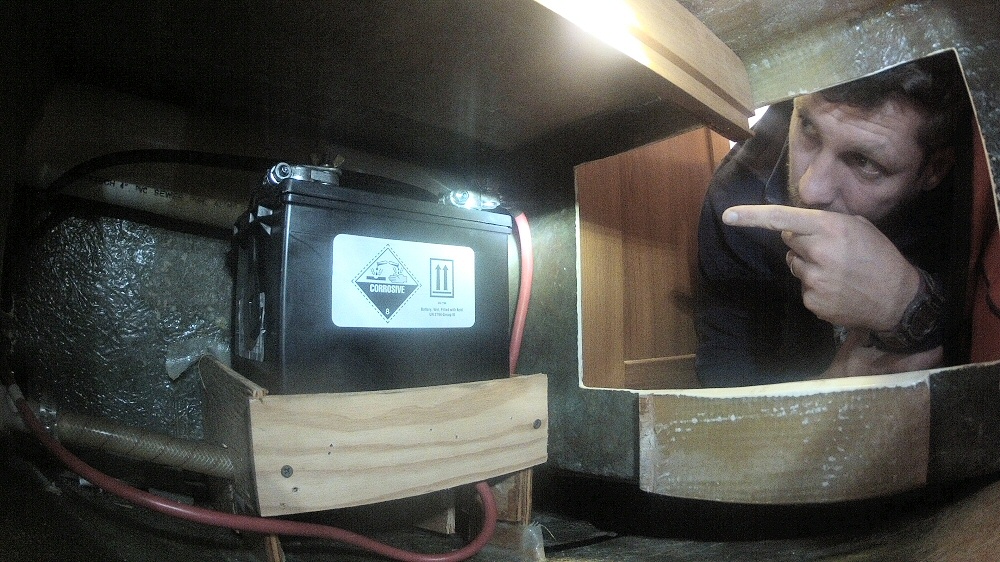
I found a space for the starting battery just next to the existing battery bank, nestled in between the side of a drawer and the fuel tank. I built a solid box for it and have wired it up. Now we’re all set for the solar panels and the new alternator. The panels are going to be run via an MPPT controller, which does some smart jiggery-pokery with the Amps and Volts from the panels to make sure that they are operating at their most efficient.

We’re still going to be on the dock here for a while yet … so why the need to get all this stuff? I want to have plenty of time living aboard self-sufficiently before we cast off the dock lines and set sail over the horizon. If something’s not quite right, I can get it sorted now whilst there’s plenty of stores and services around. And I also want to see if we can go “off-grid” completely, even while we’re here. We only use the mains power to top-up the batteries, and for a bit of heating. I’m hoping that with spring on the way, we’ll leave the heater off and run everything off solar power.

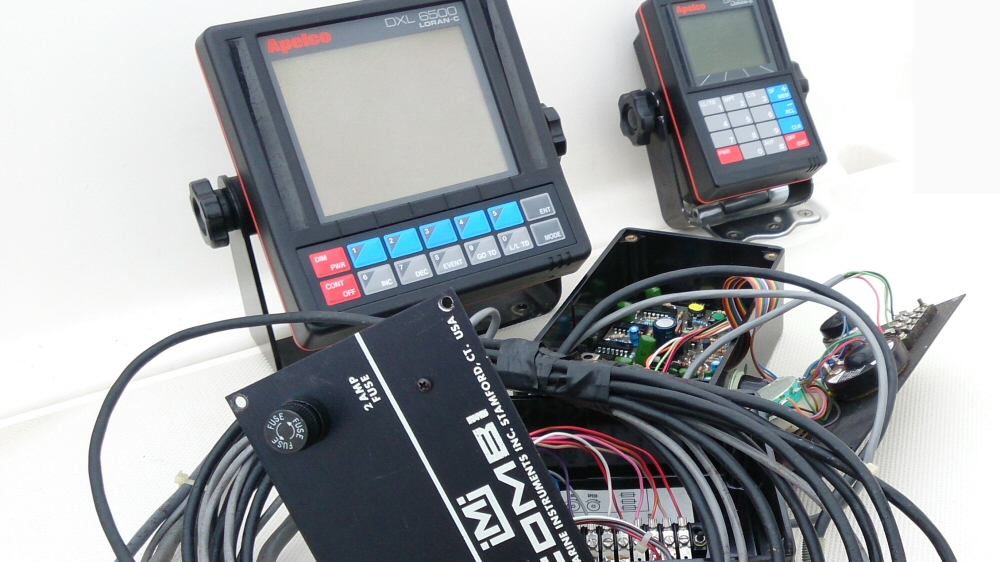
A month or so ago I installed a voltage / current meter in the dashboard so I can see exactly what load we’re using. The biggest drain is the fridge, which takes about 7 Amps for perhaps 20 minutes each hour. That’s 8 hours * 7 Amps each day … 56 Ah. The solar panels will output 10 Amps at max power, perhaps for 6 hours a day … the 60 Ah just covering our bases. We’ll see!

Table frenzy

On President’s day (a bank holiday here) I went on a table making frenzy. Perhaps the most extravagant table making extravaganza ever. I produced a whole cockpit table AND a fold-up chopping table for the galley. Phew. I think I’m at my creative peak. Does it get any better?

It’s funny how much difference a cockpit table makes. It’s doubled our outdoor flat surfaces (the only other one is the cockpit floor) – which means we now have somewhere to put mugs and plates down without their contents going walkabout. I picked up an old piece of plank from near Rose’s studio in the shipyard nearby and spent a happy afternoon shaping it up. Rounding off the edges took me right back to the days at Lush when I was building longboards by hand. Haven’t lost an ounce of technique in ten years, me.

GalleyExtension

The galley extension folds away neatly and again, doubles the flat surfaces. It’s made from a $10 IKEA chopping board. We’ve not used it as much as I would have thought, even though we’ve been complaining about having to move everything off the surfaces just to get something out of the fridge. I think it’s real value will come when using the galley at sea. It needs toughening up a bit so that you can use it to brace yourself when the boat’s on port tack (leaning away from the cooker), and some deep fiddles.

Now, where did I put that jigsaw?

Boat projects – the tipping point

Putting money into old boats is perhaps one of the most foolish things a man can do with his hard-earned greens. Often it’s a case of justifying each extra gizmo or fix with the thinking that “hey, I’m saving money by fitting it myself”, or “this could save our life one day”, or “life will be so much more comfortable afterwards”. But usually every dollar sunk into a boat is gone, spent, never to be seen again. Not many boat projects increase the value of the boat by the same amount as they cost.

There are two types of project. Reactive, and preemptive. Reactive projects are the ones that should come first – fixing things that have either broken, or are not working as well as they should be, but are already in place in some shape or form. Apart from the benefit of truly understanding what’s going on around the boat, these are less exciting, and sometimes a fair bit harder as you have to deal with rusted bolts, over-enthusiastic epoxy resin use in the past, or a previous owner’s bodged job. Fortunately on this boat, I’ve (touch wood) not had to do much of this at all.

Preemptive projects are “fitting out” projects. Stuff you think you’re going to need in the future. Or as I’ve often seen (and often been tempted by), things that people say you’re going to need. Here’s where the line between “need” and “want” needs to be fully understood! I’ve always split my to-do list into needs and wants, and so far I’ve been pretty good at sticking to the “need” list. Sure, everyone’s perception of need is different, usually defined by how much money you’ve got to throw at the whole thing and your level of personal comfort.

We’re running a pretty tight budget at the moment, but not on a complete shoestring – my needs done so far have included new instruments, autohelm, new spray hood, new anchor chain, new VHF radio, re-bedding some deck hardware and various jobs around inside the boat like a new oven and a timber grid under the front berth to prevent condensation in the mattresses. All reactive, or fixes, apart from the significant cost of the spray hood and autohelm. Classed as needs for me, with a vision to voyaging further, but really not essential for sailing around here.

On the wants list completed are things like new stereo, LED lights to save power, extra storage for the galley – that’s about it.

So far, I think I’m breaking even. The boat was cheap enough for the extra cost I’ve put in to bring the value up to a point where I’d claw it all back if we sold it. The Pearson 36 was designed as a “coastal cruiser”, and that’s exactly what it is at the moment – in great condition, with a bunch of new kit.

The next set of jobs however are where this all changes. At some point we’d love to leave the San Francisco bay area, and head much further afield. That’s going to need a level of financial and time commitment I won’t get back. I’d be turning a coastal cruiser into an offshore voyaging vessel. I’ve been thinking long and hard about whether it’s worth it with this boat. It’s an awesome liveaboard boat for being sat in a marina, but that’s not what this is all about. From our limited trips so far, this here boat is great to sail in both calm and strong conditions – she gets up to speed quickly in little more than 5 knots of wind, and we don’t need to reef until we get near 20 knots. She’s really well balanced on the helm, and rides waves nicely. And while it’s not as tough as a classic “blue water boat”, it is strong and well put together, it’s fast, it’s in great shape, and it’s got potential.

As soon as we know for sure we’re going to be headed over the horizon, the new list of preemptive “needs” will be straight up on the wall. Off-the-grid power (solar, extra batteries, new alternator & charging systems), life raft, dinghy + outboard, more storage, new anchor and windlass, more chain, more sails … I love getting stuck into this kind of stuff, but I am going to hold fire just a little longer.

He says, getting up to measure the cockpit for a solar panel mounting frame…

New sprayhood

Over here in the US of A they call it a “dodger”. Either way, I’m pretty chuffed. A couple of weeks ago the guys from Iverson’s Designs came along to install the frame and measure up for the canvas. Today they came back with the finished article for the final install. Our colour choice turned out just right! I’ll let the pictures do the talking.

DCIM100GOPRO DCIM100GOPRO DCIM100GOPRO DCIM100GOPRO DCIM100GOPRO DCIM100GOPRO

I’m impressed by the workmanship – the thing is bar taut and precision engineered – check out the first two pics where the chaps are using the front frame to tension up the top. The front and the sides zip off completely, which turns it into a sunshade for chilling out under in the tropics (one day!), and the windows are this funky semi-solid, super-see through stuff, with covers.

It’s going to take us a few days to get used to it – we’ve still been bumping our head on the frame, coming in and out of the boat, even after having it in place for 2 weeks.


Napa Valley

Last night we got back home from a trip across San Pablo bay to Napa Valley Marina. “Back home” … but didn’t we take our home with us? Has our slip in Sausalito become “home”? Is the boat “home”, wherever we take it? Do we even have a home? We’re not yet really travelling – we’re based in one place, I’m commuting to work, and yet we’re living on a vessel that can take us almost anywhere we want to go. It’s a strange place to be, and we both want to continue the path we’ve started on; seeing new places and “getting out there”.

So anyway, it was a great trip. As part of the new instrument install, I needed to replace the original 1985 depth sounder with a new unit that was a little larger, and since the sounder is plugged into a hole through the hull, the boat needed to come out of the water. The costs involved with a haul out weren’t justified by just the depth sounder replacement, but since the boat hadn’t had a bottom paint since maybe the end of 2010, that was also due. The local yard here in Sausalito doesn’t let you do the work yourself (citing environmental reasons), and were quoting a chunk of money I wasn’t really prepared to pay. We’d not yet visited Napa, and there’s a marina there which was supposed to be a great place to haul out and do your own work.

San Pablo bay, Angel Island and SF city in the background

It took a day to get up there, leaving at 0530 to push against a falling tide across San Pablo bay, getting to the entrance to Napa river just as the tide was turning around midday. The rising tide then took us swiftly up the river, under a series of bridges, to arrive at the marina with (just) enough water under our keel to get in. We did have two attempts to get into the marina, the first attempt ending in a strong bump into the muddy bar across the entrance – nothing a quick burst of max reverse couldn’t get us out of though.

Bridge1
Richmond bridge
DCIM100GOPRO
Mare lifting bridge
DCIM100GOPRO
HWY 37 bridge
DCIM100GOPRO
Brazos rail bridge

The yard guys hauled us out that afternoon, with a trailer and tractor, jet-washed the green weed and algae off, and left us on some stands at the back of the yard, overlooking dry, arid fields just as the sun went down. It was so peaceful. A range of small birds were coming back to roost in the trees just behind our transom whilst we enjoyed a rum’n’coke in the cockpit, ten feet above the dusty gravel.

Haul 1 Haul 2 Haul 3

Next morning the work started in earnest. The existing paint was sanded down with a rented sander, Rose getting nice and blue in the process. Holding a heavy power sander above your head for hours on end is hard work! Think of all the people paying hundreds of dollars a month for fancy cross-fit sessions and gym memberships – I’d be more than happy to take that payment for them to come and work on the boat 🙂

In the same day we managed to get two coats of copper-based antifoul paint on; a red underneath a blue – the idea being that by having different colours you can tell when the outer coat has worn off. Two gallons of paint just managed to cover the whole bottom twice. It’s a bit thinner than I would have liked, but it looks like there’s a fair bit of paint still there from before which is in good shape. This paint is nasty stuff, but it has to be to keep the little critters from latching on and living on the bottom of the boat. The hull itself is also in excellent shape – just a few small blisters on the keel that I ground out and epoxied.

Getting the old depth sounder out and new one put in didn’t cause any trouble. Whilst Rose was charging ahead with sanding and painting I also managed to get a bunch of other jobs done; including replacing the flax packing in the stuffing box; the useful bit that stops the water coming in through the propeller shaft hole. Whilst I had a tube of sealant open for the depth sounder, I pulled out one of the portlights that had been leaking – above the chart table – and replaced all the goo that is supposed to keep the water out. Fingers crossed it’ll work, ‘cos I sure don’t want to be taking that out again …

DCIM100GOPRO DCIM100GOPRO DCIM100GOPRO

We pushed hard to get it all done in a day so that we could get put back in the water on the next morning’s high tide, rather than Monday morning, which would mean we could travel back over the weekend rather than me take another day off work on the Monday. So, back in the water on Friday we did a few other jobs, including filling the port side stanchion hole with epoxy – the one I tore apart the other day to get the rotten core out.

Over the other side of the visitor’s dock was an English chap called Steve. A round-the-worlder from Norwich who was about to head south to Panama when his crew dropped out last week. So he was on the hunt for someone to join him on the trip. I helped him troubleshoot a problem with his masthead lights, me being a good few decades younger and more able to scamper up and down his mast steps (which are super useful, wish we had some).

DCIM100GOPRO Lazy Bones 2

We’ve been wanting to rename the boat ever since we bought her. In fact we’ve already registered our MMSI number under the new name. But we have been keeping schtum until the old name is off. In order not to upset Neptune you need to be very careful about these things, or so I’m told. So yard man Dave spend a couple of happy hours sanding off the old name and buffing up the gel coat all nice and shiny, like.

Now you see it...
Now you see it…
Now you don't!
Now you don’t!

The three of us headed into Napa for dinner, as Steve had a car. Nothing special to see, really – just another American town, perhaps a little cleaner and upmarket than some people are used to – but nothing to write home about really. Makes me wonder what about a town would make it special. I’m not a town or city person, and I don’t really have a scale to mark these things against. As long as there’s somewhere nice enough to buy food, it doesn’t smell*, and feels safe, I’m OK with it.

We hung around on Saturday to meet an old friend of Mum’s who lives in Napa – he took us on a tour of the valley, into Sonoma for a coffee, and out for lunch by the river. Rose is really into her “proper” coffee now. We don’t have the paraphernalia on board to make it “just right”, so any opportunity to visit a coffee shop is jumped at with great enthusiasm. Whilst I’m just as happy with a fresh coffee brewed in our stove-top espresso maker, I’m a sucker for cakes so am more than happy to make a trip. It was really good to get a taste for meeting new people in random places, and a good reminder that we need to get “on the road” again.

Sunday morning high tide at 0900 meant “time to go” just after dawn, with the plan being to ride the ebb all the way back to Sausalito.  The plan worked out just fine, and we were back at the dock by early afternoon, Rose having done a load more rows of knitting, chatted with family on Skype, and me having munched a bit more through my latest book. We even got some wind, so didn’t have to use the donkey all the way back.

* San Francisco often stinks of rotten cabbage, but more about that another time.

Rotten balsa

Much of this afternoon was spent digging around between the inner and outer layers of fibreglass underneath one of the lifeline stanchions. The balsa core of the deck had rotted away where water had got in under the seals, making the whole lot wobble around in a nasty way. The pre-purchase survey had brought this up as something needing attention, but I’ve only just decided to tackle it. Looks like the problem has been going on for a while since there’s an extra set of holes where the previous owner had shifted the stanchion base a bit, but didn’t seal it well.

So, I’ve cut out a nice big section just small enough to still fit under the stanchion base, squirrelled away all the wet balsa I can reach with a long allen key, and will let it dry out over the next few days. Then I’ll fill it all up with some epoxy and re-drill the holes. The inside of the boat, where the backing plate goes, also needs some attention. The backing plate appears to sit over a curved section of the inner hull, so it never sits flat and square enough to be a decent, solid backing plate. I think that’s the source of the problem. So I’ll figure something out in there with a load of epoxy too; make it flat somehow.

The lack of scuppers on the outboard part of the side decks means that there’s often sitting water just where this stanchion base is. Strange design – possibly an oversight. So far though I’ve found very few design flaws like this, it’s a well thought out boat.

Money for new rope

Don’t you just love it when a store decides to run a big discount on something that’s been on your wishlist for a while? Today is West Marine’s “Friday deal” – which is a tidy 40% off all bulk rope. Whilst it was tempting to go overboard (how many phrases have nautical origins?!) and replace most of the tired lines around the boat, I was able to restrain myself to the “need” rather than “want” list.

The other day on the trip up to Point Reyes we got some nasty riding turns on the jib sheets, partly due to the ancient, flattened and fluffed ropes. So they were up for replacement. I got blue ones thinking that all the other lines aboard were white … making it easier to give instructions – “pull the blue one”. Getting back to the boat I see that the jib furling line is also blue. Oops. Ah well. At least now I’ve got two more tired, end of life ropes hanging around … perfect for holding the kayaks down!

I have no halyard backups to use in an emergency if the jib or main halyards go, and at some point I’m going to be looking for a spinnaker, so it also made sense to get the line for a new halyard too. Ended up with 8mm dyneema. I’m amazed by the breaking strength of this stuff – it claims 7000lb, which means that I just need 3 lines to hold the WHOLE BOAT up in the air.

So, now I have another job for the next trip up the mast; fit a spinnaker halyard crane and run the line. It’s also going to need a cleat on the mast.


Point Reyes and Drakes bay

Rose, me, Mike, Rachel and Brittney headed up the coast for the weekend to Drakes bay which is nestled in just inside Pt. Reyes, about 30 miles north of San Francisco.

Leaving the bay – calm and cloudy

The day started out a bit wet – the forecast was for showers, and it was right. We had rain for the first few hours as we sailed north up the coast in a light westerly breeze. Mike and Rachel had been having it large the night before so were fast asleep below, keeping nice and warm and dry.

Land ahoy! Point Reyes on the horizon

Soon the sky started to lighten in the west, and within minutes we were in the sun. Point Reyes was on the horizon. The wind picked up and veered north, so we ended up tacking up to the bay as the sun started to set.

Off Balinas just after the cloud and rain cleared
The sky’s brightening up!
Love being at sea
Mike

We had 3 attempts to get the anchor to hold, eventually getting it to stick as dusk fell. Food and drinks and games took us all the way to late evening – everyone pretty tired and all asleep by 11. The wind picked up further overnight, gusting over 30 knots. Up in the forward cabin it felt like we were still at sea – but the anchor held and we woke to calmer conditions and warm sunshine for Rachel’s birthday.

Breakfast time!


Dawn at anchor after a blowy night

After breakfast we rustled the kayaks off the deck and took turns heading to shore to check out the (very noisy) elephant seals. These things are huge. A few harbour seals (like we have down in Sausalito) were their usual inquisitive selves, following the paddlers almost all the way back out to the boat. I’m pleased by how the kayaks handle the chop – we got a bit wet without spray decks, but that’s easy to sort.

Off to investigate the elephant seals
Just enough wind to get the kite up …
Folie A Deux
Rose and Brittney
Hello crew!
Mike and Rachel
Rose

By 1130 we were “back on the road”. A fresh NW wind from almost dead astern meant we had to put a few gybes in as we headed back down the coast. We tried wing-on-wing for a while but it was a little too rolly without polling out the jib to be comfortable.

Heading south – Pt Reyes on the horizon
Sun, wind, warmth. Mmmm

By the time we got down to the SF bay, the swell had picked up considerable. 9-14 feet the forecast said, and it was definitely on the large side of that. Large and rolling though so not dangerous. As we rounded the SW corner of Four Fathom bank, we were surfing at 12 knots down some of the larger waves. Closer in to the bridge in the shipping channel things mellowed out a bit.

Dusk as we approach the Golden Gate

As usual, we lost the wind when the sun went down and motored back to the slip in Sausalito. Mission accomplished!

… and we’re back

New instruments all round

One of the big projects on the boat over the past few months has been installing a new set of electronic instruments. I bought the boat with original kit still installed – speed and depth sensors, and a Loran setup for navigation. From the first owner’s receipts I can see that it all added an extra $20,000 to the price of the boat! I didn’t even need to check if it still worked. It may well have done, considering how fastidious the previous owner was about cleaning… or maybe it didn’t, since I don’t think he was so hot on the sailing side of things. The reefing lines weren’t even set up properly. But I digress.

Old skoool
Old skoool
More art than electronics


I spent weeks researching options whilst still in the UK. I knew I wanted a modern below-decks autopilot which was going to need a modern boat network system, and pretty much most of the other stuff hung off that. Warning – this is probably going to turn into quite a technical post! So, having chosen to buy the Raymarine Evolution system, it meant that Raymarine stuff was the most sensible for the rest of the system. I needed new speed and depth sensors, new wind speed and direction sensors, and some way to tell the autopilot where we were going and how fast we were travelling (Course Over Ground and Speed Over Ground from a GPS). Because there was no wind instrument before, it also meant I had to run wires all the way to the masthead. There were no masthead nav lights either, other than an old non-functional anchor light – so whilst I was up there I planned to add an all-round tricolor. I considered LED for this, but having read too many stories about excess VHF interference after a few months, I decided on classic tried and tested incandescent light bulbs. Hey, I can always switch the bulbs for LED ones later.

New goodies
New goodies


Once all the kit arrived it was a case of spending a good few evenings routing wires around the boat ready to add the sensors and other gubbins. At the masthead is the Raymarine wind jobby, with a wire that runs down the inside of the mast to a converter device under the forward saloon seat which converts the signal into the SeaTalkNG that the rest of the network needs. Also plugged into this is the speed/depth/temperature tri-ducer, which needs the boat to be hauled out of the water before I can fit it. I’ve an i70 display unit at the chart table, and one at the helm. There’s also the autopilot control head at the helm. I modified the original instrument pod at the helm with a new plastic fascia. Not too glamorous, but waterproof and solid.

Instrument pod
Instrument pod
Systems are GO
Systems are GO


The Evolution course computer and drive controller sit out of harm’s way at the back of the huge cockpit locker.

Running wires under the floor


Rose hauled me up the mast one Saturday to get the wires in. Fortunately the messenger line was still intact (a line added by the manufacturer for just this purpose). The idea is that you tie your wires to it, then haul the line down through the mast. I fed them down from the top with Rose pulling from the bottom. It’s a keel stepped mast which made this job easier than I expected – though it still took a good few hours. I was still up the mast as it got dark, not yet finished. An hour or so later I was nearly hypothermic, so had to abort for the day. Everything was connected and fixed on – just the mast cap needed bolting down.

Before …
Masthead after
and after!


Masthead with cap off
Mast cap off
Running wires
Feeding wires


Once everything was plugged in (apart from the autopilot drive unit, which needs some serious engineering / fabrication that’s beyond the odd evening’s work), I fired up the system and the displays came online. Sweet. Now I could see the wind speed and direction at least. A couple of nights later it got pretty windy. We never had technowizardry like this on Rancote, so it’s all going to feel rather extravagant.

Windy
A frisky night!


I spent some time hunting a good deal on eBay for a GPS unit and ended up with a Garmin 17x NMEA2000 unit for 90 bucks. Pretty good. Better than the $300+ that Raymarine are asking for one of their units. That went in without any problem, so now we can see where we are. One of the challenges is that the instrument network is uses a system called SeaTalkNG (which is compatible with NMEA2000), but the VHF radio I bought in April, perhaps a little prematurely, only interfaces with a GPS signal on NMEA0183. I’ll figure that one out later.

And that just left the autopilot drive unit to install. This was going to be the biggest challenge, and needed some thinking time. It’s a beast of a machine which can pull up to 750 pounds on the rudder, which means it needs to be mounted REALLY strongly somewhere in the transom. As it’s such a critical piece of the project, and as I’m by no means a fibreglass construction pro, I thought I might get the guys at the local yard to do this. After getting a quote for well over $2000 I soon changed my mind. They wanted to haul the boat out of the water to get it closer to their air powered tools, and whilst it was out give it a new coat of paint on the bottom. The local yard doesn’t let you do your own work due to environmental regulations, so we had to pay labour for painting … anyway it was all going to be well over budget so I decided to do it myself.

After a load of templating with cheap, thin timber I put together a solid marine ply shelf that was screwed and glassed in over the period of a couple of days. It’s solid. And now I’ve the confidence to tackle most other fibreglass jobs that come along. Granted, it’s not the most beautiful of jobs, but hidden away down there nobody minds. Finally I bolted down the drive unit, hooked it up and we were in business. The Evolution autopilot “dockside wizard” took a few seconds to run through and then we were running. Just in time for our cruise over the bay to see the new year fireworks. Let’s see how it all runs when we get to sea.

The last piece of the puzzle is to get the speed/depth sensor put in, which I’m going to do when we haul the boat out for a bottom paint at Napa Valley Marina in January. The depth sensor actually works from inside the boat if I mount it into a short piece of PVC tube filled with water – which is great for the trip up the river but of course not a permanent job.

FCC approved!

Paperwork for the ship’s radio licence arrived today, which means I now have an MMSI number which is needed for DSC calling, and most importantly it means that I can send instant mayday calls with the DSC distress button on the VHF radio. I’ve not yet got a GPS connected up to the radio, so we’re not quite there yet, but this is first base. It cost $160 to register with the FCC here, whereas in the UK (if I recall correctly) it’s free to get listed on the Small Ships Register. The boat is registered in California however, so I can’t use the SSR – and it’s going to be a lot easier in foreign ports if the boat papers and licences are all US rather than a mix.